Contents
Journal Upload
 Updated
by Caroline Buckland
Updated
by Caroline Buckland
Financials - Journal Upload
The Journal Upload process lets users enter standard, recurring and accrual journals into Microsoft Excel before validating and uploading them into Financials.
Installation
- Excel - Online Versions
- Setup Add-in for Excel - Online
To install the Journal Upload Add-in for either Excel for the Web or Excel Desktop:-
For Excel for the web
- Open Excel for the web.
- Select New- Blank workbook
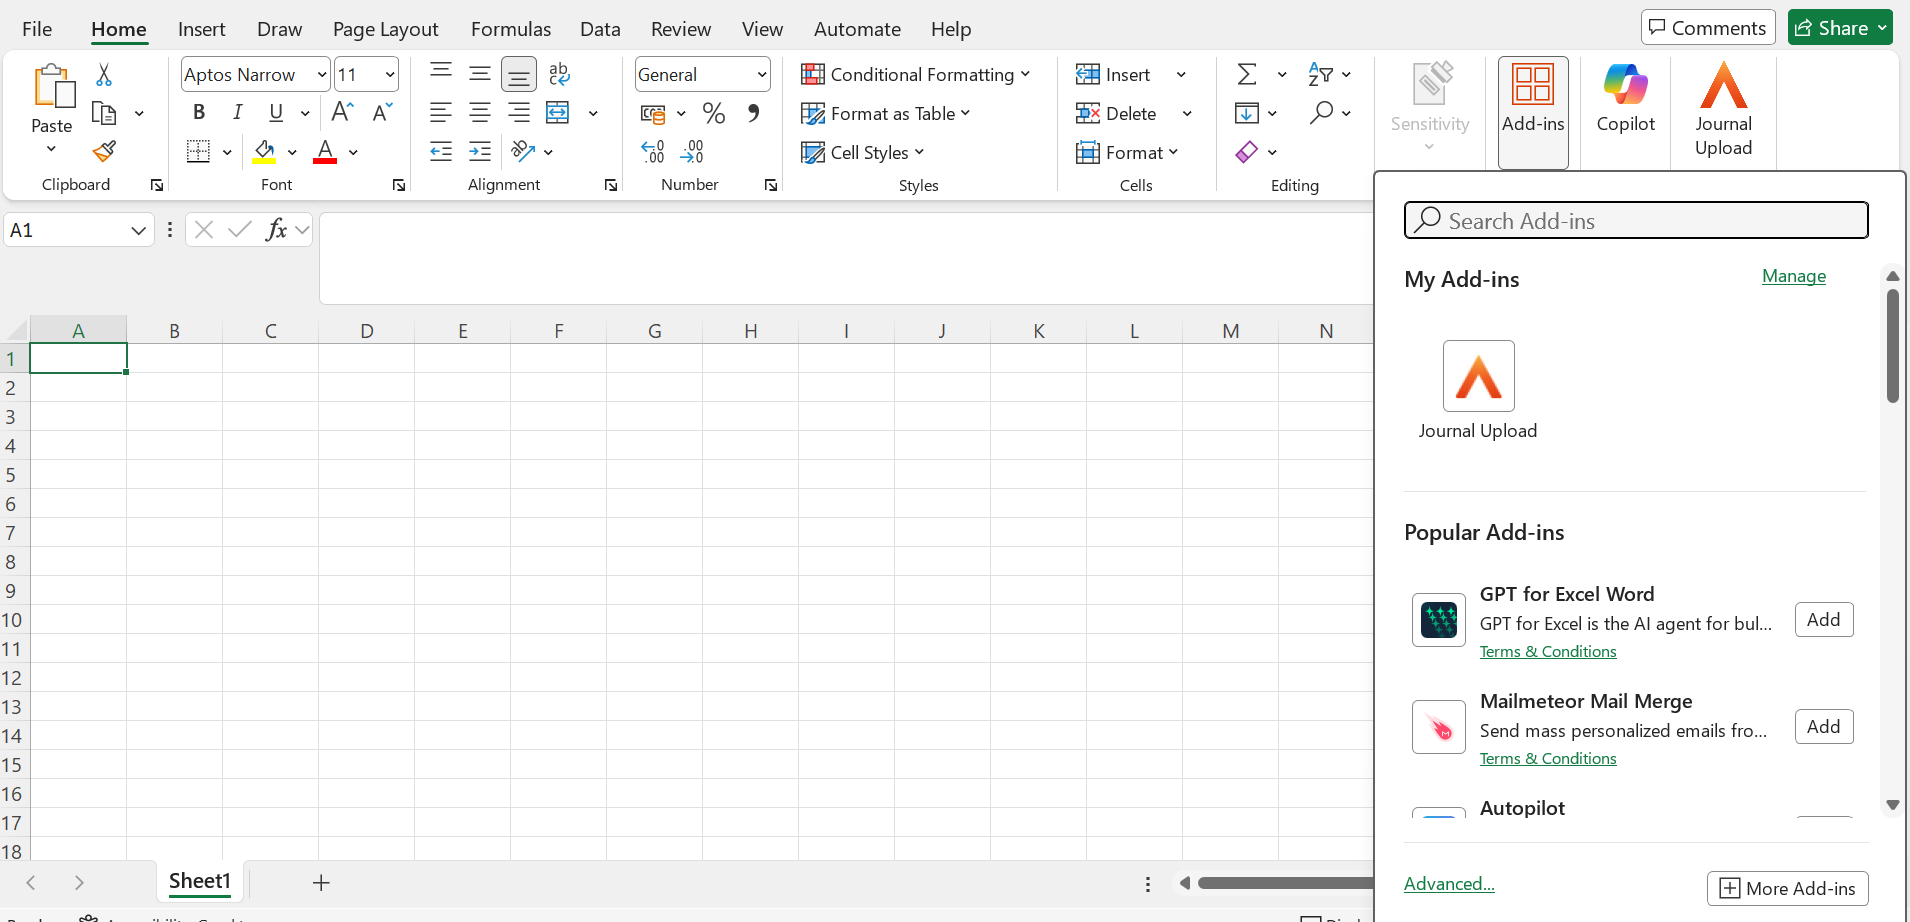
- From Excel, click on the 'Home' tab and select 'Add-ins' then ‘ + More Add-ins’:
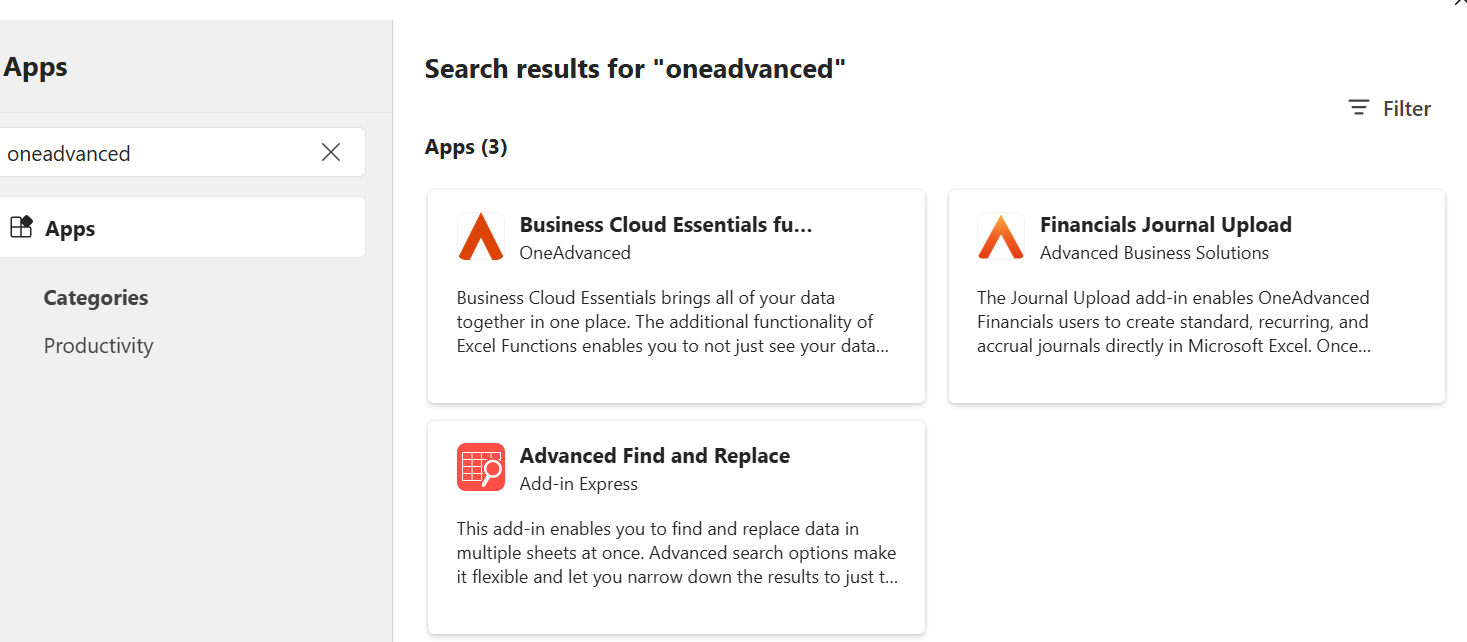
For both Web and Desktop, from the Office store, search for 'OneAdvanced' and the 'Financials – Journal Upload' will show in the available list:
Click on the Add button and accept the licence terms by clicking on the 'Continue' button:
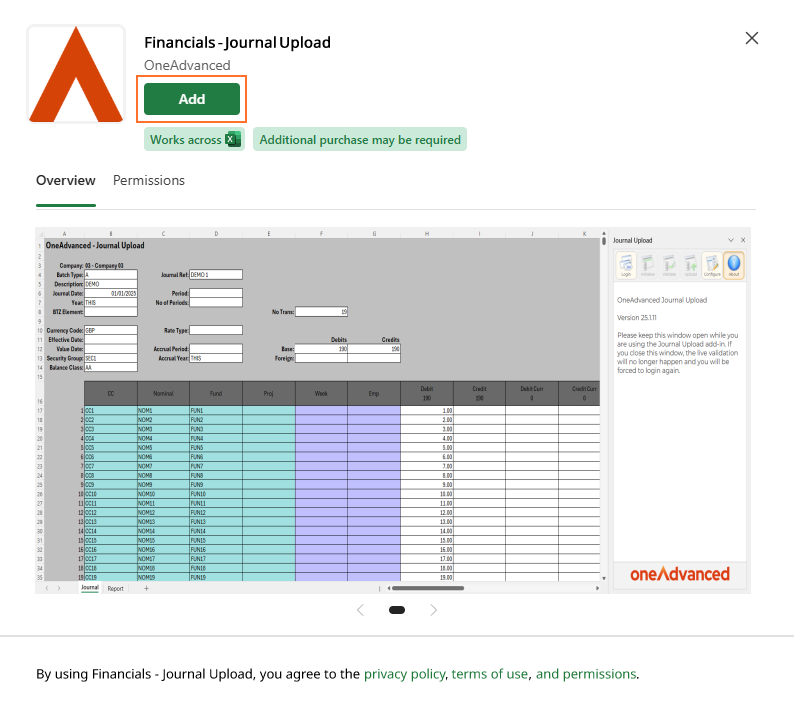
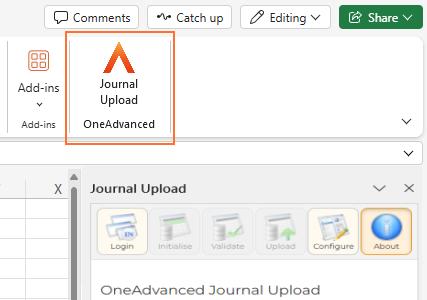
The Journal Upload button will be displayed on the menu ribbon, indicating the 'Add-in' has been successfully installed:
Configuration
Before using the Journal Upload add-in you must configure the connection to the Financials system.
Click on the Configure button and the settings will appear in the task pane to the right of the spreadsheet.

Enter the following details.
URL: The URL of the Financials system you wish to connect to, this can be found once you login to Financials.
i.e. https://yourcompanyname.cloufinancials.com

Maximum rows to initialise: enter a number of your choice, this will be the number of rows you tend to enter for journals
Create Debit/Credit style: will create a separate column for debits and credits, if left blank it will only display one column
The below values can be left blank, if entered the excel worksheet will produce dropdown boxes with the values displayed.
The formula is as follows:
The options should be comma separated, add [XXXX] to set the default value.
Example [GLJN], GLRV,GLRR - this will have GLJN as the default value.
- Batch Types: Locate the batches from your Financials system, the shipped batch types are GLJN (Standard Journal), GLRV (Reversing Journal) GLRR Recurring Journal
- BTZ Element: This is only for customers that have Multi company accounting set up (ICA) this is not mandatory but a default element can be entered
- Balance Class: This can be left blank or enter AB for actual balances, other balances classes can be entered using the formula shown for the batch types
- Logging Level: set this to NONE. This is just a setting used by OneAdvanced support team
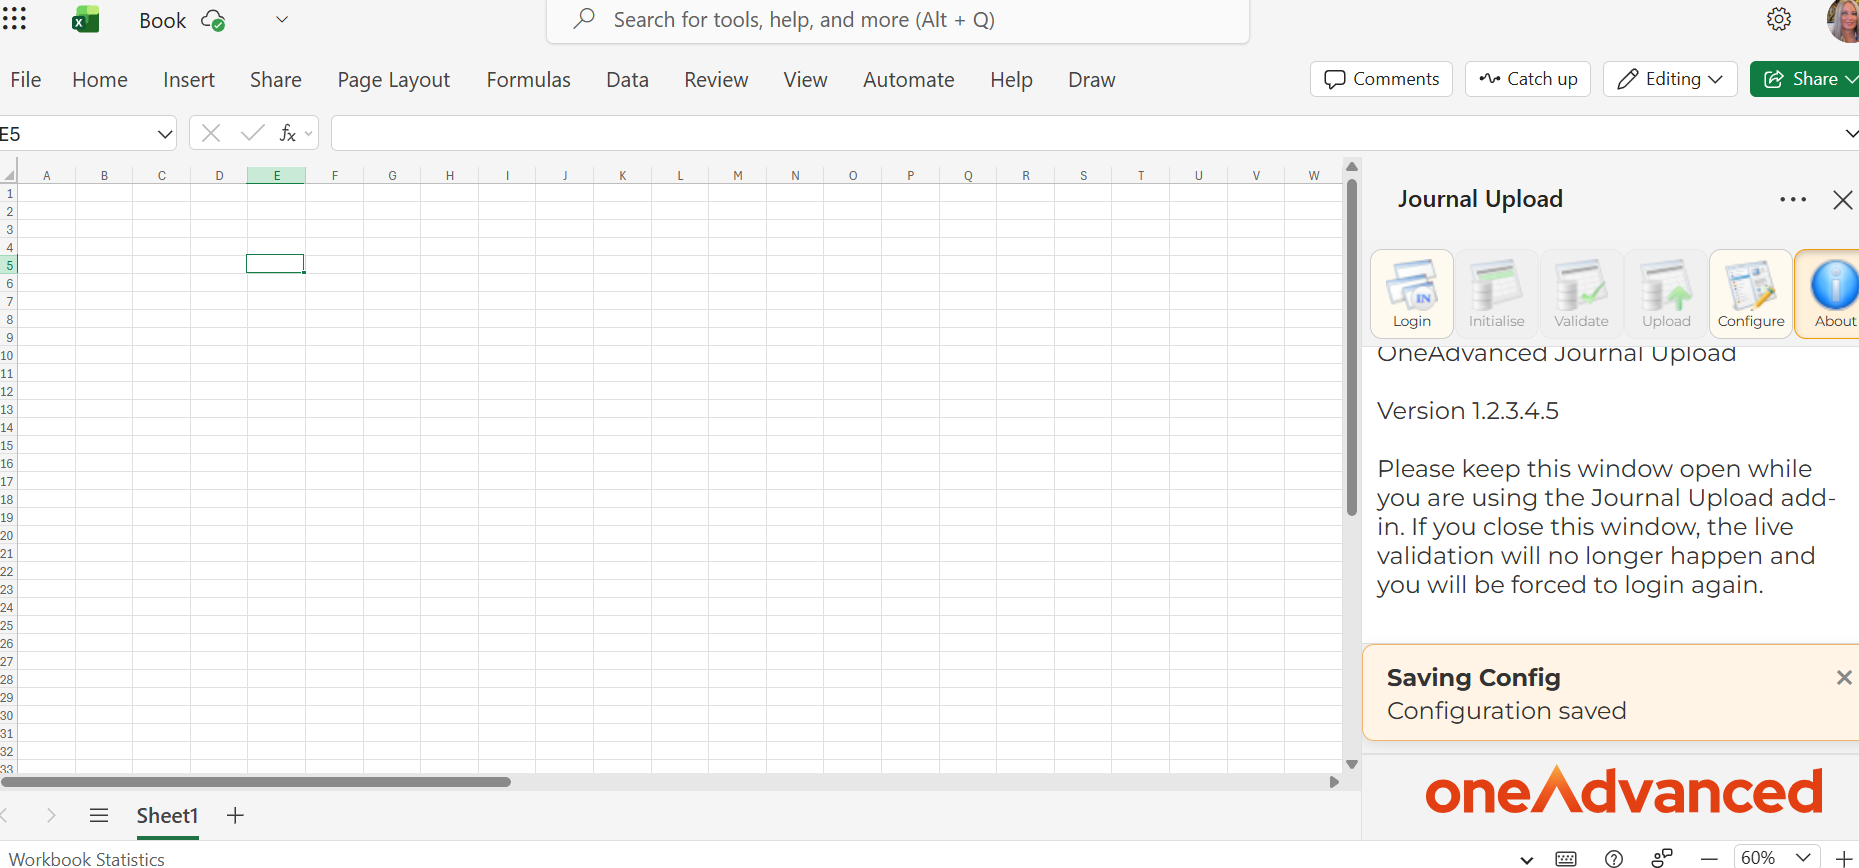
Select the Save button once complete.
You can now select the Login icon.
If you are not already logged in to MyWorkplace, the login screen will be displayed.

The following notification is displayed.

Initialisation
You will need to initialise the spreadsheet which will create a blank Journal Upload template sheet which you will be able to populate.
Select your company from the dropdown menu followed by the initialise button under the company dropdown.
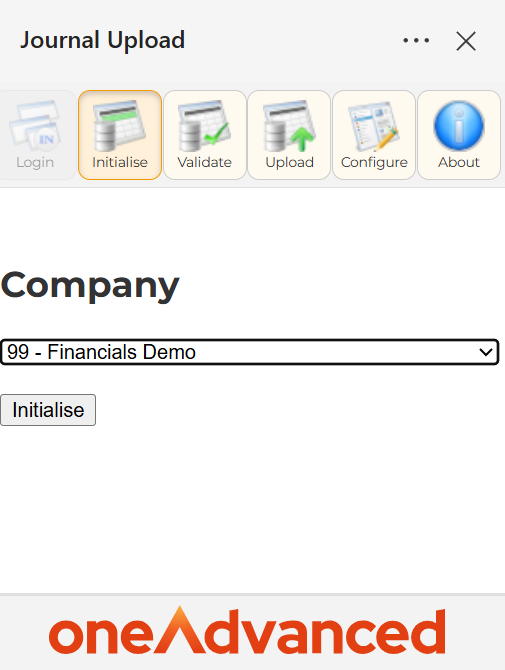
The specific company General Ledger Account Definitions for the selected company will be displayed. If the spreadsheet already had data in it, then it would be cleared.
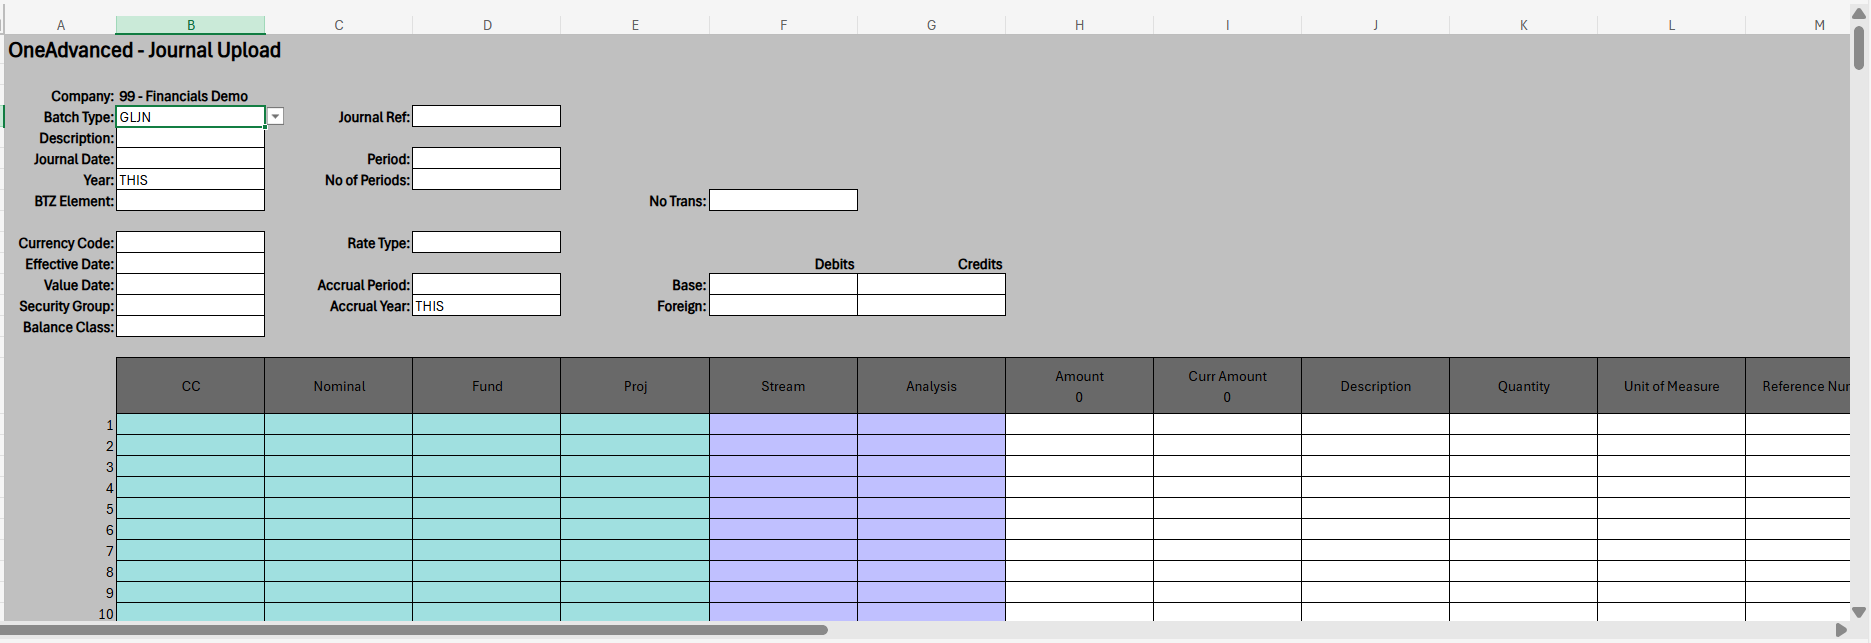
Field Descriptions
Company
This field is populated following initialisation.
Batch Header Fields
Batch Type
Select one from the drop down list.
Description
This will default to the batch description on update or enter a description of your choice.
Journal Date
This will default for you depending on the period and year entered.
Year
Select from the dropdown list Last Year, Next Year or Current Year to specify when the batch will be posted.
BTZ Element
You may enter an element, or select from a drop down. Only used for Multi Company Accounting ICA.
Currency code
You may enter a currency. If you do not enter a currency, then company base currency will be assumed.
Effective Date
This will default after entering the Rate Type, and holds exchange rates. (only used for foreign currency journals)
Value Date
You may enter the value date if a value dated batch type is used.
Security Group
If the batch type type is setup for 'Security Group Authorisation' a security group needs to be entered here which represents valid authorisers who have this security against their user ID.
Balance Class
You may enter a balance class. If you do not enter a balance class, a balance class of ‘AB’ will be assumed.
Reference
You must enter a batch reference. This depends on your company settings. It may be a automatic (updated when you load the journal) or manual entry.
Period
You may enter the period to which the batch of transactions will be posted, or it will default to current period when posted.
Number of Periods
You may enter the number of periods for the batch to recur over. This is only required if you are using a recurrals batch type.
Rate Type
You may enter a rate type, this holds exchange rates and dates for foreign currency. (only used for foreign currency journals)
Accrual Period
You may enter a reversal period for the batch if required, you must be using an Accrual Reversal batch type.
Accrual Year
You may enter a reversal year for the batch if required, you must be using an Accrual Reversal batch type.
Number of Transactions
You may enter the number of transactions in the batch i.e. how many lines you are entering on the journal.
Base Currency Credits
You may enter a base currency credit value. This is total of all credits, this is optional.
Base Currency Debits
You may enter a base currency debit value. This is total of all debits, this is optional.
Foreign Currency Credits
You may enter a foreign currency credit value. Monetary value of credits entered in foreign currency, this is optional.
Foreign Currency Debits
You may enter a foreign currency debit value. Monetary value of debits entered in foreign currency., this is optional.
Transaction Detail Fields
Mandatory
Account
You must enter an account for the transaction. This field will be split depending on the company account definition.
Analysis
You may enter analysis code values for the transaction. This field will be split depending on the company account definition.
Debit/Credit (Financial Value)
You may enter a base currency value for the transaction. This field may be split into debit and credit columns depending on the initialisation parameters.
Debit/Credit (Financial Value) Currency
You may enter a foreign currency value for the transaction. This field may be split into debit and credit columns depending on the initialisation parameters. Either base or foreign currency or both values may be entered.
Description
Enter a description for each line.
Optional Fields
Quantity
You may enter statistical information related to a particular transaction.
Unit of Measure
This code is optional but must be a code already setup in your Financials system.
Reference Number
You may enter a reference number of up to six characters to mark an individual transaction (as opposed to the general Reference number entered on the Header). This can be used within the General Ledger enquiries to search for individual transactions.
Tax Code
You may enter a tax code that applies to this transaction. This is an optional field but if the tax code is entered then it must have been previously defined within Financials.
Tax Type
You may enter a tax type that applies to this transaction. This is an optional field but if the tax type is entered then it must have been previously defined within Financials.
Tax Location
You may enter a tax location that applies to this transaction. This is an optional field but if the tax location is entered then it must have been previously defined within Financials.
Reconciliation Code
You may enter a transaction reconciliation code.
Rate Type
You may enter a rate type that applies to this transaction.
Effective Date
You may enter a date relating to the exchange rate for an individual transaction.
Exchange Rate
You may enter an exchange rate.
Transaction Date
You may enter a transaction date.
Destination Company
You may enter a Destination Company value for the transaction.
Cost Source Company
You may enter a cost source company for the transaction.
Cost Source
You may enter a cost source value for the transaction.
Cost Target Company
You may enter a cost target company value for the transaction.
Cost Target
You may enter a cost target value for the transaction.
MCA
You may enter a Mini Chart of Accounts code for the transaction.
Project
If Project Tracking is in use, you may enter project code values for the transaction. This field will be split depending on the company project definition. If Project Tracking is not active, then this can be used as a memo field.
Validation
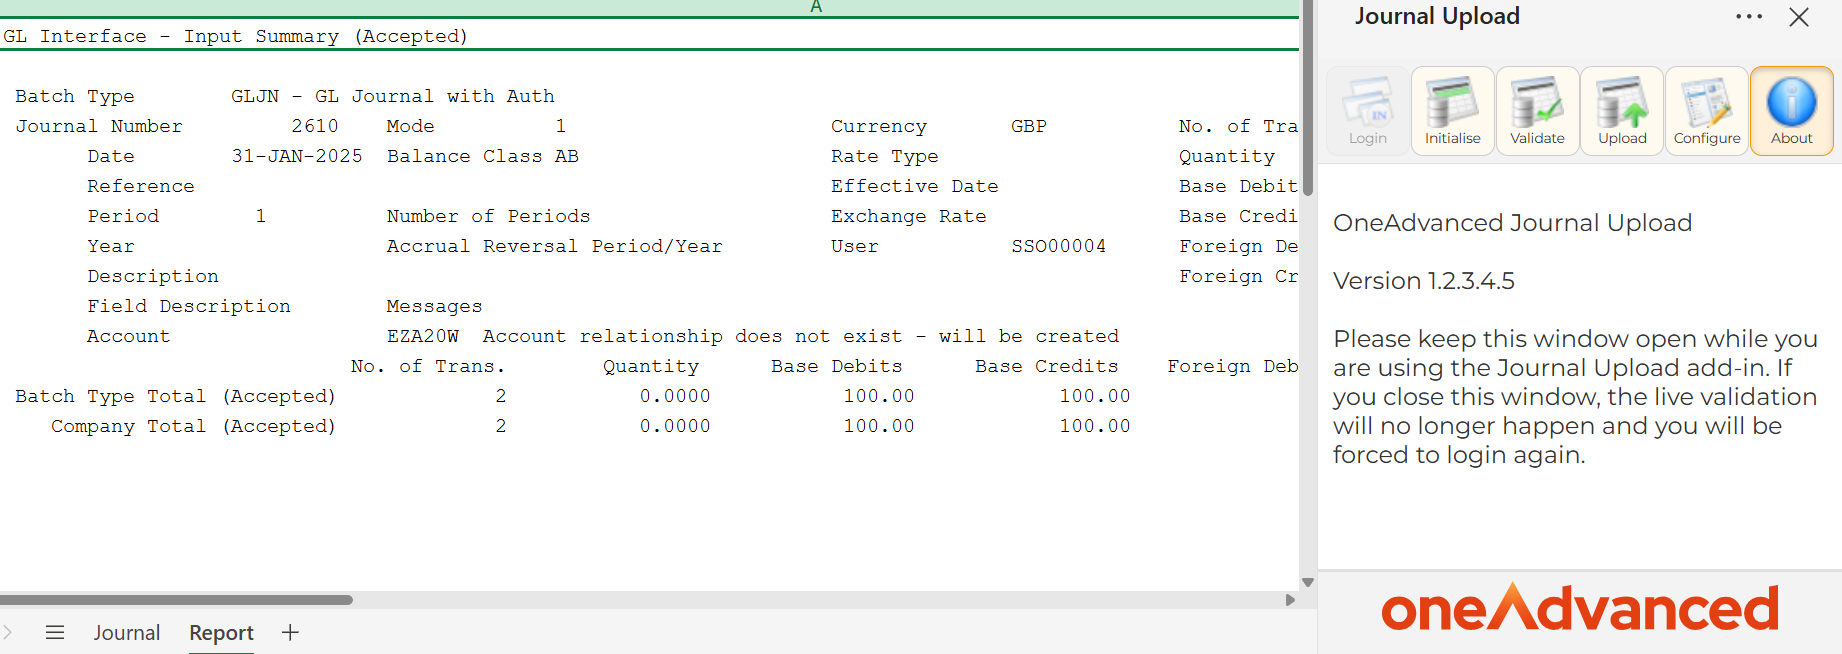
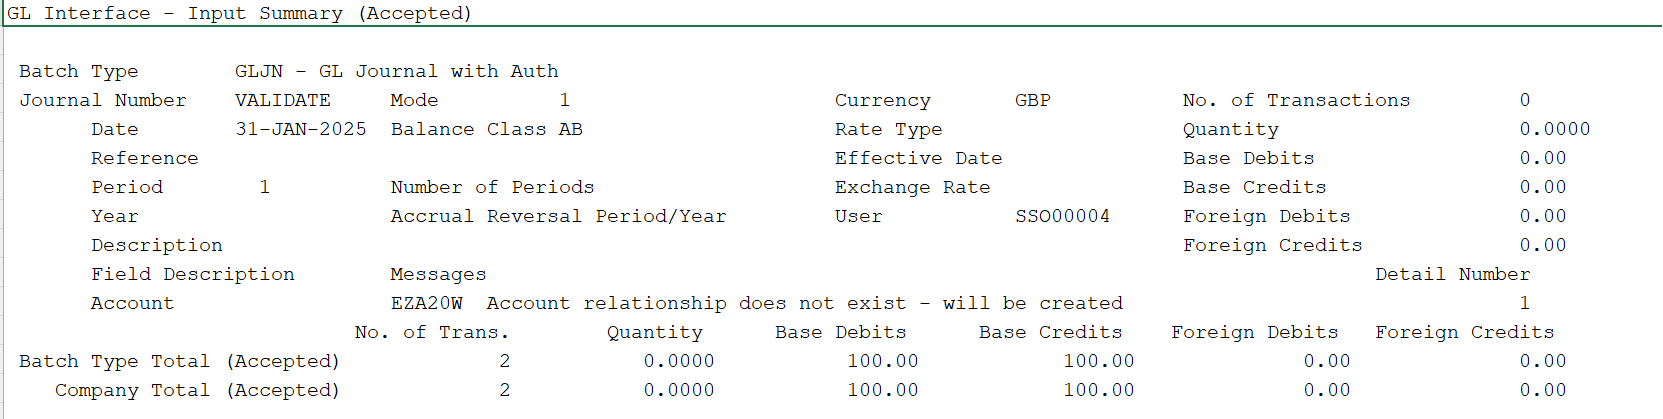
Once complete, select the Validate icon.

A report is returned from Financials and displayed on the ‘Report’ tab of the spreadsheet.
Any errors will be reported, amendments can be made and then validated again.
Upload
The Upload action can then be used.

A report is returned from Financials and displayed on the ‘Report’ tab of the spreadsheet.